Few DIY projects deliver as much impact for as little money as a board and batten accent wall. That classic grid of vertical (and sometimes horizontal) trim adds architecture, texture, and a high-end, custom look to a plain wall — and it's genuinely achievable for a confident beginner over a weekend. Whether you want a cozy entryway, a statement behind your bed, or a dining-room feature, this is the project that makes a room look like it was professionally designed.
Here's a complete, beginner-friendly walkthrough, from planning your layout to the final coat of paint.
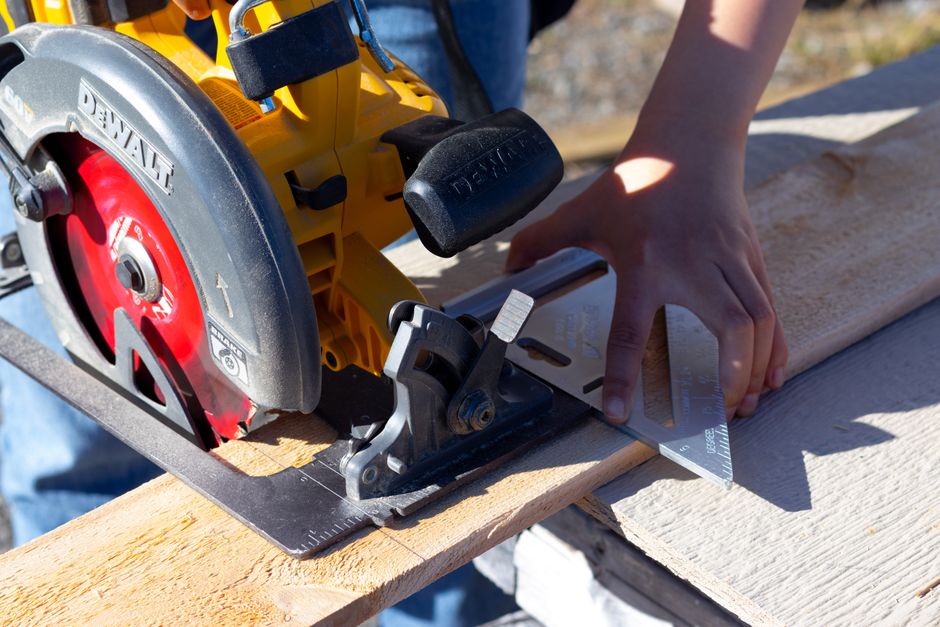
Safety first: wear eye protection when cutting, use caution with any saw, and check for wiring or pipes before nailing into a wall. If you're unsure about electrical outlets on the wall, consult a professional.
What is board and batten?
Board and batten is a style of wall treatment where flat vertical strips of trim (the "battens") are applied over a wall in a regular pattern, usually with a horizontal top rail and sometimes a baseboard, creating a paneled grid. Modern versions often skip the backing "board" and apply battens straight to the drywall, which is cheaper and easier — that's the approach most DIYers use today.
What you'll need
Materials:
- Primed MDF or pine trim boards (commonly 1/4" thick, 2.5"–3.5" wide) for the battens and rails
- A top rail board (often slightly wider)
- Construction adhesive
- Finishing nails (for a brad nailer) or a hammer and nails
- Wood filler and caulk (paintable)
- Primer and paint (a durable satin or semi-gloss)
Tools:
- Tape measure, pencil, and a level
- A miter saw or hand saw (a hardware store can sometimes cut boards to length)
- A brad nailer or hammer
- A stud finder
- Caulk gun
- Sandpaper, painter's tape, brushes, and a small roller
Step 1: Plan your layout
This is the most important step — measure twice, cut once.
- Measure the wall width and the height you want the treatment to reach (a common height is about two-thirds up the wall, or full height for a bolder look).
- Decide your batten spacing. Even spacing looks best — typically 12 to 18 inches between vertical battens. Measure your wall width and divide it into equal sections so you don't end up with an awkward sliver at one end.
- Sketch the grid on paper with your measurements, including the top rail and any horizontal pieces.
- Mark the layout lightly on the wall in pencil, using a level to keep verticals plumb and horizontals even.
Step 2: Prep the wall
- Clean the wall and lightly sand any glossy paint so adhesive grips.
- Remove or loosen baseboards if you're integrating them, and turn off power to any outlets you'll work around (and plan to use outlet extenders later if the trim adds depth).
- Fill any large holes and let them dry.
Step 3: Cut your boards
Measure and cut your top rail first, then your vertical battens to length. Cut a couple at a time and check the fit as you go — walls and floors are rarely perfectly square, so minor adjustments are normal. Label pieces if your wall isn't uniform.
Step 4: Install the top rail
Apply construction adhesive to the back of the top rail, press it to the wall along your level line, and secure it with finishing nails — ideally into studs where possible. This horizontal piece anchors the whole design and gives your verticals a consistent stopping point.
Step 5: Install the vertical battens
Working from your layout marks:
- Run a bead of construction adhesive down the back of each batten.
- Press it to the wall on your pencil line.
- Check it's plumb with your level.
- Nail it in place top and bottom (and a couple of points in the middle).
Repeat across the wall, double-checking spacing and level as you go. Consistent spacing and plumb verticals are what make it look professional rather than homemade.
Step 6: Fill, caulk, and sand
This step is the secret to a seamless, built-in look:
- Fill all nail holes with wood filler; let dry and sand smooth.
- Caulk every seam where the battens meet the wall and each other, and along the top rail. Caulk hides the gaps that would otherwise reveal it's trim stuck to drywall.
- Sand any rough edges smooth.
Take your time here — good filling and caulking is the difference between "custom millwork" and "boards glued to a wall."
Step 7: Prime and paint
- Prime any bare wood or filler spots.
- Paint the battens and the wall between them the same color for that cohesive, modern board-and-batten look. A durable satin or semi-gloss is easy to wipe down. Use a brush for the trim edges and a small roller for the flat areas.
- Two coats usually gives the best, most even finish.
Tip: painting the whole feature one color (battens and wall together) reads more current than contrasting trim. Warm whites, soft greiges, sage, and moody deep tones all look fantastic.
Cost and time
A single accent wall typically uses a handful of trim boards and a quart or two of paint — an affordable project by any standard. Plan on a weekend: planning and cutting one day, installing and filling, then caulking and painting the next (allowing dry time between).
The takeaway
A DIY board and batten accent wall is one of the highest-impact, lowest-cost upgrades you can make. The keys are careful planning for even batten spacing, keeping every piece level and plumb, and — above all — filling and caulking thoroughly so it reads as built-in millwork rather than glued-on trim. Paint it all one cohesive color, and a plain wall becomes a custom-looking feature that makes the whole room feel designed.
Frequently asked questions
Is board and batten hard to install?
It's a very achievable project for a confident beginner. The main skills are accurate measuring and cutting, keeping pieces level and plumb, and thorough caulking and filling for a seamless finish. Modern "batten over drywall" methods skip the backing board, making it cheaper and simpler than traditional paneling.
How far apart should board and batten battens be?
Even spacing of about 12 to 18 inches between vertical battens looks best. Measure your wall and divide it into equal sections so you don't end up with an awkward narrow gap at one end. Sketch the grid before cutting anything.
Do I need to fill and caulk board and batten?
Yes — this is what makes it look professional. Fill all nail holes and sand them smooth, then caulk every seam where battens meet the wall and each other. Skipping this step is the main reason DIY board and batten can look like trim stuck to a wall rather than custom millwork.
Should I paint board and batten the same color as the wall?
Painting the battens and the wall between them the same color gives the most current, cohesive, built-in look. Contrasting trim is an option for a more traditional feel, but a single color — warm white, greige, sage, or a moody deep tone — tends to look the most modern and elegant.
How much does a board and batten wall cost?
A single accent wall is inexpensive by DIY standards, typically needing just a handful of trim boards, adhesive, nails, caulk, and a quart or two of paint. The biggest investment is time — usually a weekend including dry time between steps.