Floating shelves are one of the most satisfying beginner DIY projects: they add storage and style, hide their brackets for that clean "floating" look, and cost a fraction of store-bought versions. With a few basic tools and an afternoon, you can build sturdy, beautiful shelves for any room. Here's a straightforward, beginner-friendly approach.
Safety first: always locate studs or use proper heavy-duty anchors, wear eye protection when cutting or drilling, and check for wiring or pipes before drilling into a wall.
What you'll need
- A wood board or thick plank for each shelf (a solid wood board or a sturdy pre-made shelf blank)
- Floating shelf brackets (hidden "blind" brackets) rated for your shelf size
- A drill and drill bits
- A level
- A stud finder
- Wall anchors (if you can't hit studs)
- Sandpaper, and wood stain or paint
- A pencil and tape measure
Step 1: Choose and finish your wood
Pick a board that suits the room — a chunky solid plank for a warm, substantial look, or a slimmer board for something delicate. Sand it smooth, then stain or paint it and let it fully dry. Finishing before mounting is far easier than working around a hung shelf.
Step 2: Find your studs
Use a stud finder to locate the studs and mark them lightly in pencil. Anchoring brackets into studs gives you the strongest hold. If your shelf placement doesn't line up with studs, use heavy-duty wall anchors rated well above the weight you plan to store.
Step 3: Mark and level the bracket
Hold the bracket against the wall where you want the shelf, place your level on top, and adjust until it's perfectly horizontal. Mark the screw holes with a pencil. Measure from the floor or ceiling at both ends to double-check it's even.
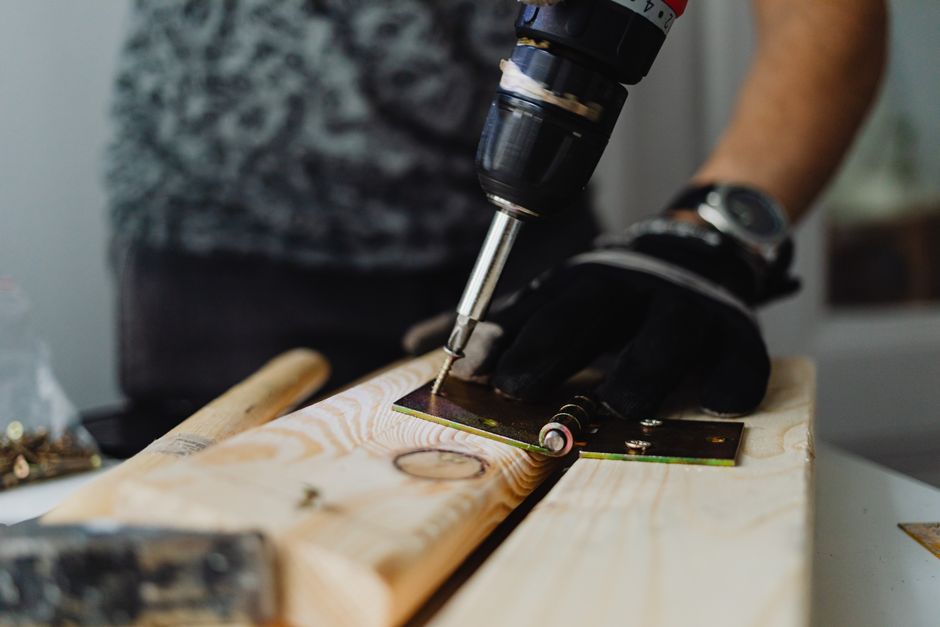
Step 4: Drill and mount the bracket
Drill pilot holes at your marks, then screw the bracket firmly into the studs or anchors. Give it a gentle tug to confirm it's solid before going further.
Step 5: Prepare the shelf
Most hidden brackets have rods that slide into holes drilled into the back edge of the board. Measure carefully and drill matching holes the same diameter and depth as the rods. Take your time here — accurate holes are what make the shelf sit flush and level.
Step 6: Slide on the shelf
Slide the board onto the bracket rods until it sits flush against the wall. It should feel snug and look like it's floating with no visible hardware. If it's a tight fit, tap it gently with a rubber mallet.
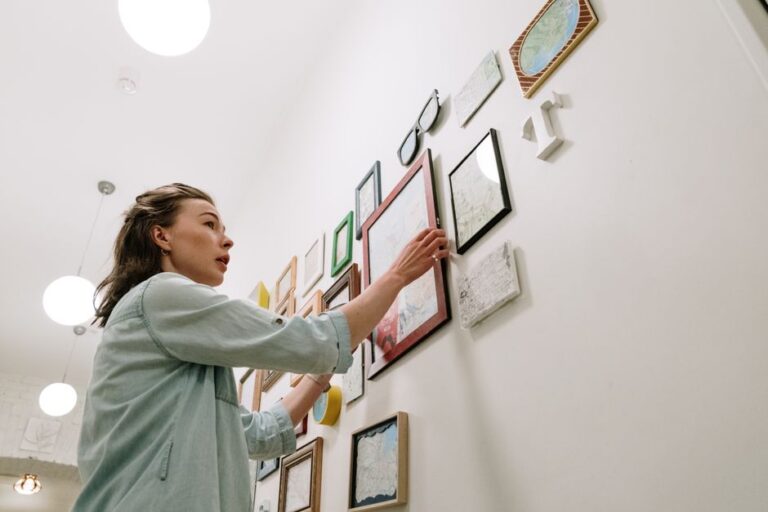
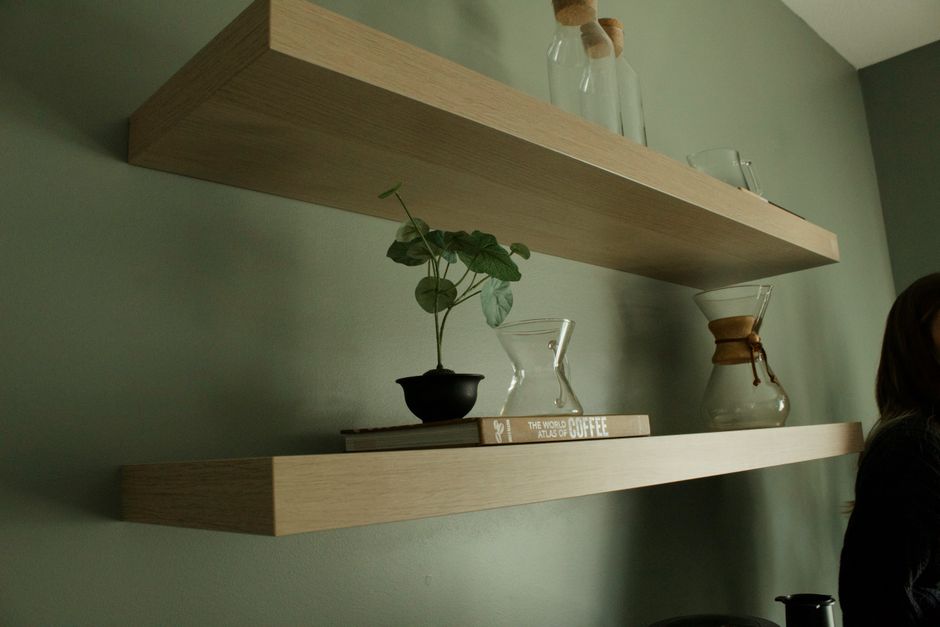
Step 7: Style it
Now the fun part. Style your new shelf with a few books, a small plant, a candle, and a framed print — group in odd numbers, vary the heights, and leave breathing room.
Tips for success
- Don't overload it. Respect the weight rating of your brackets and anchors.
- Use longer brackets for longer shelves to prevent sagging in the middle.
- Check level twice. A shelf that's even slightly off will be obvious once items are on it.
- Pre-drill everything to avoid splitting the wood.
The takeaway
DIY floating shelves are an achievable weekend project that adds storage and warmth for far less than store-bought. Finish your wood first, anchor brackets into studs (or strong anchors), keep everything level, and don't overload them. The payoff is custom shelving that looks like it cost a fortune.
Frequently asked questions
Are floating shelves hard to install?
Not for a beginner with basic tools. The key steps are anchoring the bracket into studs (or heavy-duty anchors), keeping everything level, and drilling accurate holes in the shelf. Take your time and it's very doable in an afternoon.
How much weight can floating shelves hold?
It depends on the brackets and how they're anchored. Brackets screwed into wall studs hold far more than those in drywall anchors. Always check the weight rating and don't exceed it — and use longer brackets for longer, heavier shelves.
What wood is best for floating shelves?
Solid wood like pine, oak, or walnut makes sturdy, attractive shelves. Thicker boards look substantial and resist sagging; pre-made shelf blanks designed for hidden brackets are the easiest option for beginners.
How do I hang floating shelves without studs?
Use heavy-duty wall anchors (such as toggle bolts) rated well above the weight you plan to store, and keep the load light. Whenever possible, though, anchoring into at least one stud gives a much stronger, safer hold.