 By Sofia Bennett, Home & Decor Editor
Reviewed & updated September 2026
A craft room can turn into chaos fast — ribbon spilling out of drawers, half-finished projects buried under fabric scraps, and supplies scattered across three different rooms because nothing has a real home. The good news is that a functional, good-looking craft space doesn't require a spare bedroom. It requires the right systems.
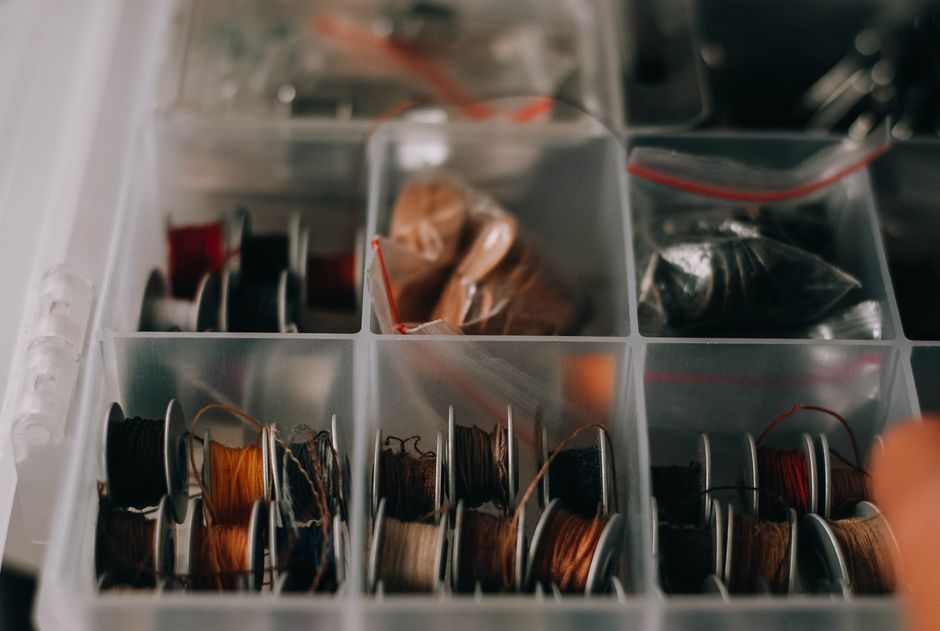 What this guide coversCurated by Sofia · 7 min read
- Start with a supply audit
- Zone the space by activity, not by item type
- Vertical storage is a small craft room’s best friend
- Contain the small stuff
- Furniture that pulls double duty
- Keep works-in-progress from taking over
- A simple system beats a Pinterest-perfect one
- The takeaway
- Further reading & trusted sources
Start with a supply audit
Before buying a single storage bin, pull everything craft-related out of drawers, closets, and random bags and put it in one place. This is tedious but it's the step that actually determines what storage you need — buying containers first and sorting later almost always means buying the wrong sizes.
Sort supplies into rough categories as you go: paper and cardstock, paint and brushes, fabric and thread, tools (scissors, cutters, adhesives), and small embellishments like buttons or beads. You'll likely find duplicates and dried-out supplies worth tossing, which alone can free up meaningful space before you organize anything.
Zone the space by activity, not by item type
Instead of organizing purely by supply category, think about the actual tasks you do in the space — cutting, gluing, sewing, painting, packaging — and set up small zones for each. A cutting zone near good lighting with a self-healing mat and rotary cutter within reach works better than storing all "tools" together in a drawer across the room.
Zoning matters even more in a small or shared space, because it lets you keep an entire activity contained to one corner or cart instead of needing to walk across the room mid-project to grab something.
Vertical storage is a small craft room's best friend
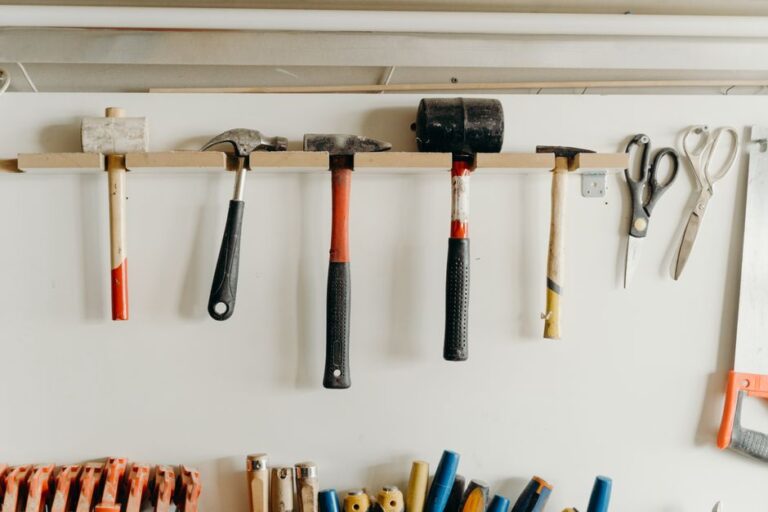
Floor and desk space in a craft room disappears fast, but wall space rarely gets used to its potential. A pegboard above your work surface can hold scissors, tape, ribbon spools, and frequently used tools on hooks, keeping them visible and off the desk entirely.
Wall-mounted shelving above eye level is ideal for supplies you use less often — extra paper stock, seasonal decorations, or bulk fabric — while shelves within easy reach should hold your most-used items. Floating shelves are especially useful for corralling labeled jars of small embellishments where you can see contents at a glance.
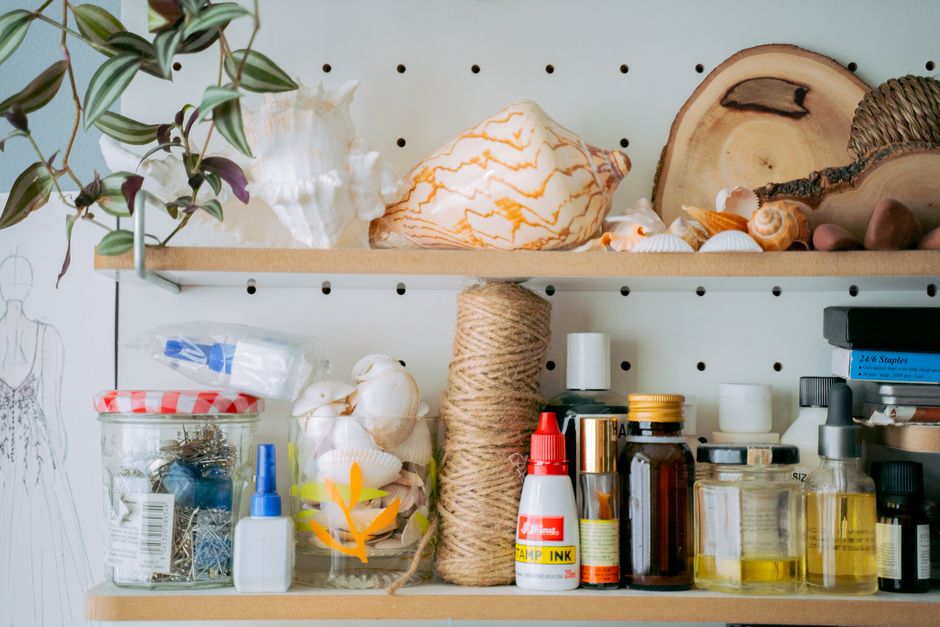
Contain the small stuff
Loose beads, buttons, washi tape, and stickers are the fastest way for a craft space to look cluttered even when it technically isn't. Clear stackable bins or a rolling cart with small drawers keeps these items sorted and visible without eating up counter space.
Label everything, even when contents seem obvious — a "misc" bin fills up fast and becomes a black hole. Specific labels like "buttons — 1/2 inch" or "washi tape — florals" make it far easier to put things back where they belong, which is the actual key to staying organized long-term.
Furniture that pulls double duty
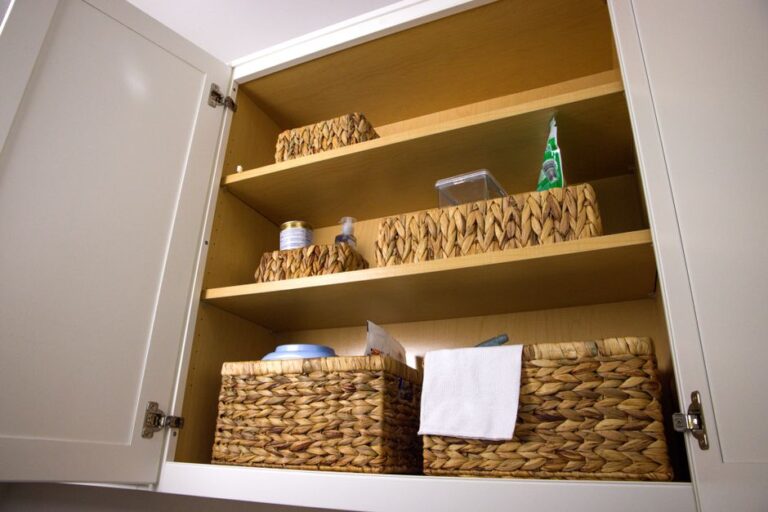
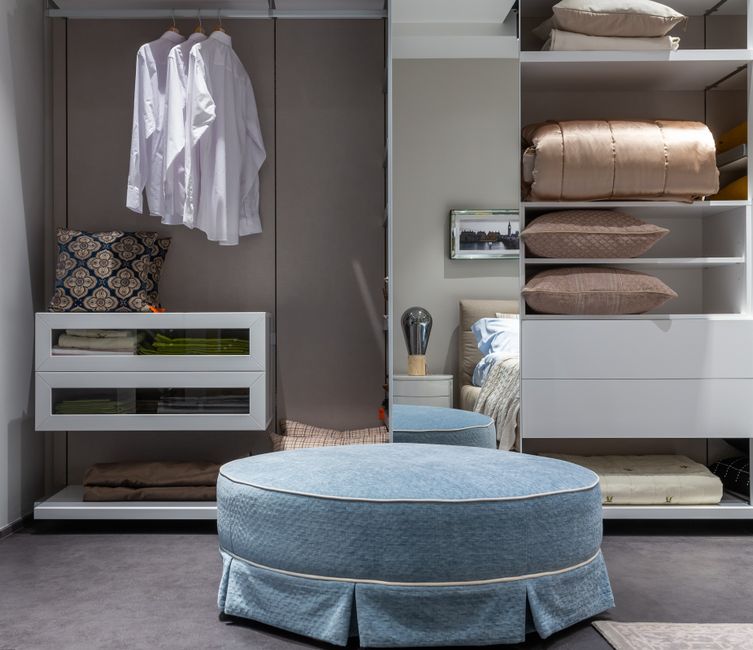
If your craft space shares a room with something else — a guest bedroom, home office, or corner of the living room — furniture that closes or rolls away matters more than furniture that looks good permanently on display. An ottoman with hidden storage, a rolling cart that tucks under a desk, or a cabinet with doors that hide open shelving all let the space "reset" when it's not in use.
A folding or drop-leaf table is another smart pick for shared spaces — it gives you a full work surface during a project and folds flat against the wall the rest of the time, freeing up floor space in a multi-purpose room.
Keep works-in-progress from taking over
Unfinished projects are one of the biggest sources of craft room clutter, since they tend to sit out indefinitely rather than getting put away like finished supplies. A dedicated shallow bin or tray — one per active project — keeps in-progress work contained and easy to pick back up, rather than spread across the entire table.
Set a simple personal rule, like limiting yourself to two or three active project bins at a time. When a new project starts, an old one needs to either finish or move to long-term storage, which keeps the active workspace from slowly filling up with abandoned half-projects.
A simple system beats a Pinterest-perfect one
It's tempting to chase the elaborate, fully labeled craft rooms you see online, but the system that actually works is the one you'll keep up with. If detailed drawer dividers and a strict labeling system feel like a chore to maintain, a simpler setup with a few large, clearly labeled bins will serve you better long-term than a complicated system you abandon after a month.
Build in a five-minute reset habit at the end of each crafting session — supplies back in their bins, surfaces wiped down — rather than a full deep organization pass. Small, consistent resets prevent the kind of buildup that eventually requires a weekend of reorganizing from scratch.
The takeaway
A well-organized craft room comes down to a few repeatable moves: audit what you actually have, zone the space by activity, use your walls for storage instead of just your floor, contain small items in labeled bins, and choose furniture that can hide the mess when the space needs to double as something else. None of it requires a dedicated room — just a system sized to the space you actually have.
Frequently asked questions
How do I organize a craft room in a shared space?
Lean on furniture that closes, rolls, or folds away — a cart, an ottoman with storage, or a fold-down table — so the space can reset to its other purpose when you're not crafting.
What's the best storage for small craft supplies like beads and buttons?
Clear, stackable bins or small labeled jars work best because you can see contents without opening every container, which saves time mid-project and makes it easier to spot when you're running low.
How often should I reorganize a craft room?
A quick five-minute reset after each session prevents most buildup. A deeper full reorganization once or twice a year is usually enough if you're consistent with the smaller resets.
Do I need a full room for a craft space to be functional?
No — a well-zoned corner, closet, or cart-based setup can work just as well as a full room if it's organized around your actual activities and has enough storage for your most-used supplies within reach.
Read next
Further reading & trusted sources
A small thing that makes a big difference
Buying storage bins before sorting supplies is the single most common reason a craft room reorganization stalls halfway through, since the sizes almost never match what actually needs to fit once everything is pulled out and categorized. A ‘misc’ labeled bin fills up within weeks regardless of how organized the rest of the system is — specific labels are what actually keep items going back to the right spot, not the container itself.
Sofia is happiest hunting down the high-end look for a fraction of the price; she’s convinced a beautiful room comes from restraint and clever styling far more than from budget. She shapes Dreamy Dwell’s room-by-room guides around ideas you can actually copy in a rental or on a tight budget — no staged ‘this is my mansion’ fantasy. AI tools help with the research and first drafts, and a human edits every piece before it goes live. We never fake reviews or pass off a styled photo as a real before-and-after.